*Disclosure – We received this product for the purpose of this review. However, all thoughts and opinions are my own.
I love having a little change around the house. Whether that be a lick of paint to brighten up a room or hanging some new wallpaper. We recently started to decorate downstairs so when Photowall kindly asked us to review one of their murals, it was perfect timing!
Choosing a mural
We are no strangers to Photowall and have a selection of their beautiful wall hangings around our home. I have a large personalised canvas with a canalside scene which was from one of my photographs, and a beautiful black and white canvas of my boys.
I have always been super impressed with the quality and our new mural was no exception.
Ordering our mural was a really easy process. I think the hardest part of the order is actually choosing what design we wanted as there were so many lovely ones to choose from! There are stunning woodlands, sunny beaches, magical kids’ murals and many more.
We were after a picturesque scene of the outdoors. We live in the countryside so I wanted to bring a little of that theme into our living room.
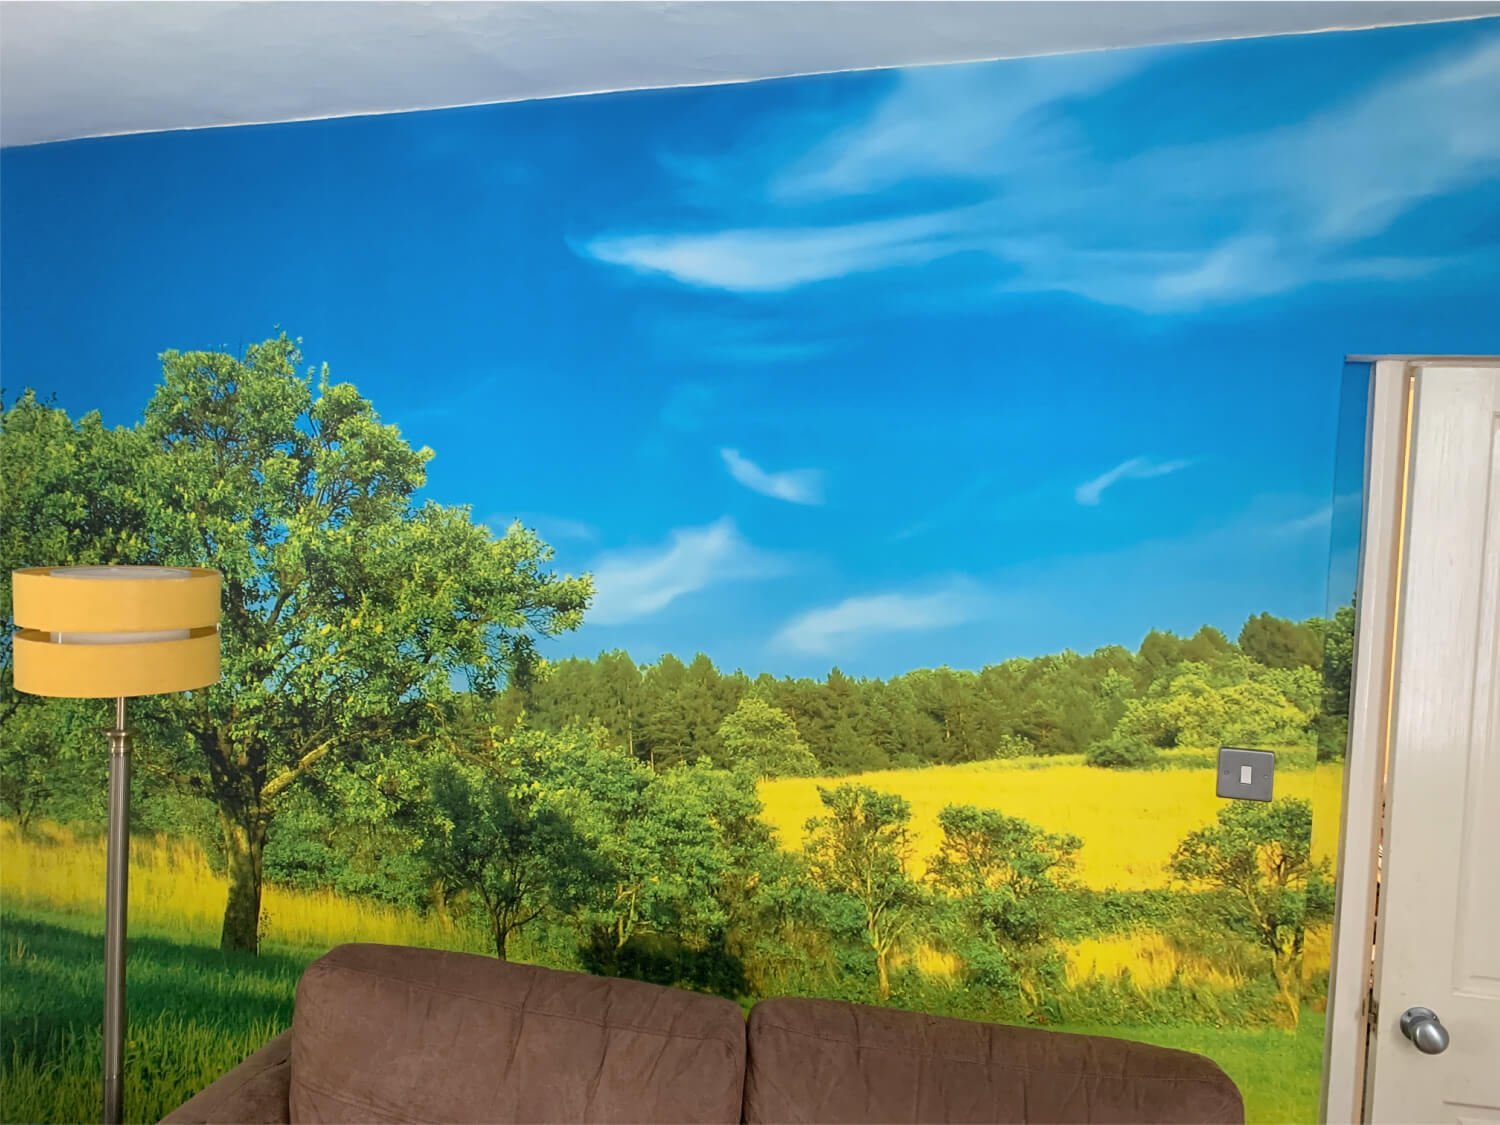
After looking at so many fab designs we finally decided to go with the Sunny Summer Day Mural.
Delivery of the mural
Once we had filled in the required size and paper thickness we checked out and waited for our delivery. These fabulous items come all the way from Sweden and one thing that I love about Photowall is the speed at which they send out their products! I have never waited more than a couple of days to receive my order, they are so fast! It’s such a brilliant service, it really is.
I received tracking throughout the journey of my parcel, so I was always kept updated.
The items come well packaged with very little waste and all of which was recyclable.
Hanging our mural
We had the wallpaper hanging kit as an addition to our order. You get everything you need in the kit to put up your wallpaper.

The mural comes on one long roll which is divided into sections. Each piece has a guide as to where you need to cut it.
 The instructions provided advise to paste the wall, not the wallpaper, so this is what we did. The first thing you notice when handling the paper is just how thick it is! It is such good quality, there were no fears of tearing the paper when it came to brushing it out. It’s really durable.
As you can see, Craig left a little overhang so we could trim it off afterward.


I am absolutely over the moon with how it turned out. Our house is really old, so the walls are all shapes! I think Craig did a great job with this in mind.
The mural really brightens up the room, I love it. All I need now is a picnic blanket! Haha.

What would be on your ideal mural?


Oh wow! That mural looks gorgeous. One like that really does brighten up a wall.
It looks like it was simple to put up too x
The mural looks wonderful what a fantastic way to brighten up a living room 🙂
Wow these look amazing! It would brighten up and dark Winter’s day!
Its a really good idea, very unique and i would love one….
I’ve actually got a mural of a forest scene with sunlight filtering through the trees….but I’ve had it for about 2 years and it’s still rolled up in the packaging. I just never seem to have gotten around to putting it up.
Does look really good , think I would be worried about not being able to line it up or having bubbles in it .
That looks fab!
Useful tips
these are a great idea to brighten up lounge
Great idea
such a wonderful idea!
These look fab worth considering
Oh that is super lovely, I would love that in my living room.
Such a lovely centrepiece for any room x x
This would be great in a large room
I love a feature wall. Thanks for the great article!