
*This is a collaborative post.
Diamond art enthusiasts know that creating stunning mosaic designs can sometimes lead to a messy workspace. Keeping your area tidy not only enhances the enjoyment of this relaxing craft but also ensures the longevity of your materials. Implementing simple organization techniques and mindful habits can significantly reduce mess and improve your diamond painting experience.
Preparing your workspace is crucial for a neat diamond art session. Start by laying out a clean, flat surface and gathering all necessary tools within easy reach. Consider using small containers or a divided tray to separate diamond colors, preventing accidental spills. A light-colored mat or cloth beneath your canvas can catch stray diamonds and make them easier to spot.
Mastering the art of diamond placement is key to minimizing scatter. Use premium diamond painting kits with high-quality adhesive to ensure diamonds stay put once placed. Practice a gentle touch when applying diamonds to avoid dislodging nearby pieces. Regular breaks to tidy up and reorganize your space can prevent small messes from becoming overwhelming.
Key Takeaways
- Organize your workspace with dedicated containers for efficient diamond management
- Use quality materials and gentle techniques to minimize diamond displacement
- Incorporate regular tidying sessions into your diamond painting routine

Preparing Your Workspace
A well-organized workspace is crucial for a smooth diamond painting experience. Proper setup minimizes messes and maximizes efficiency.
Choosing a Well-lit Area
Select a space with ample natural or artificial lighting. Good illumination helps distinguish between similar diamond colors and reduces eye strain. Position your work surface near a window for daytime projects. For evening sessions, use adjustable desk lamps or LED light panels.
Consider the color temperature of your light source. Daylight-balanced bulbs (5000-6500K) provide the most accurate color representation. Avoid working in dim or overly warm lighting, as it can distort color perception.
Ensure your light source doesn’t cast shadows on your work area. Experiment with different positions to find the optimal setup.
Organizing Diamond Containers
Invest in a storage system for your diamond drills. Small, clear containers with secure lids work well. Label each container with the corresponding DMC code or symbol.
Sort diamonds by color before starting. This prevents accidental mixing and saves time during the painting process. Consider using pill organizers or bead storage boxes for temporary storage while working.
Keep frequently used colors within easy reach. Arrange containers in the order they appear on your canvas for efficient workflow. Use foam or silicone mats to prevent containers from sliding.
Maintaining a Clean Surface
Cover your work surface with a protective film or mat. This catches stray diamonds and makes cleanup easier. Choose a slightly tacky surface to keep diamonds in place while working.
Keep a lint roller nearby to quickly remove loose drills from your workspace. Use it regularly to maintain a tidy area. A small handheld vacuum can also be useful for larger spills.

Clean your tools and work surface after each session. Wipe down your stylus, trays, and containers to prevent dust accumulation. Store your project in a sealed bag or container when not in use to protect it from debris.
Executing Diamond Art Technique
Mastering diamond art technique requires attention to detail and a systematic approach. The following subsections explore key aspects of executing diamond art effectively.
Understanding Canvas Symbols
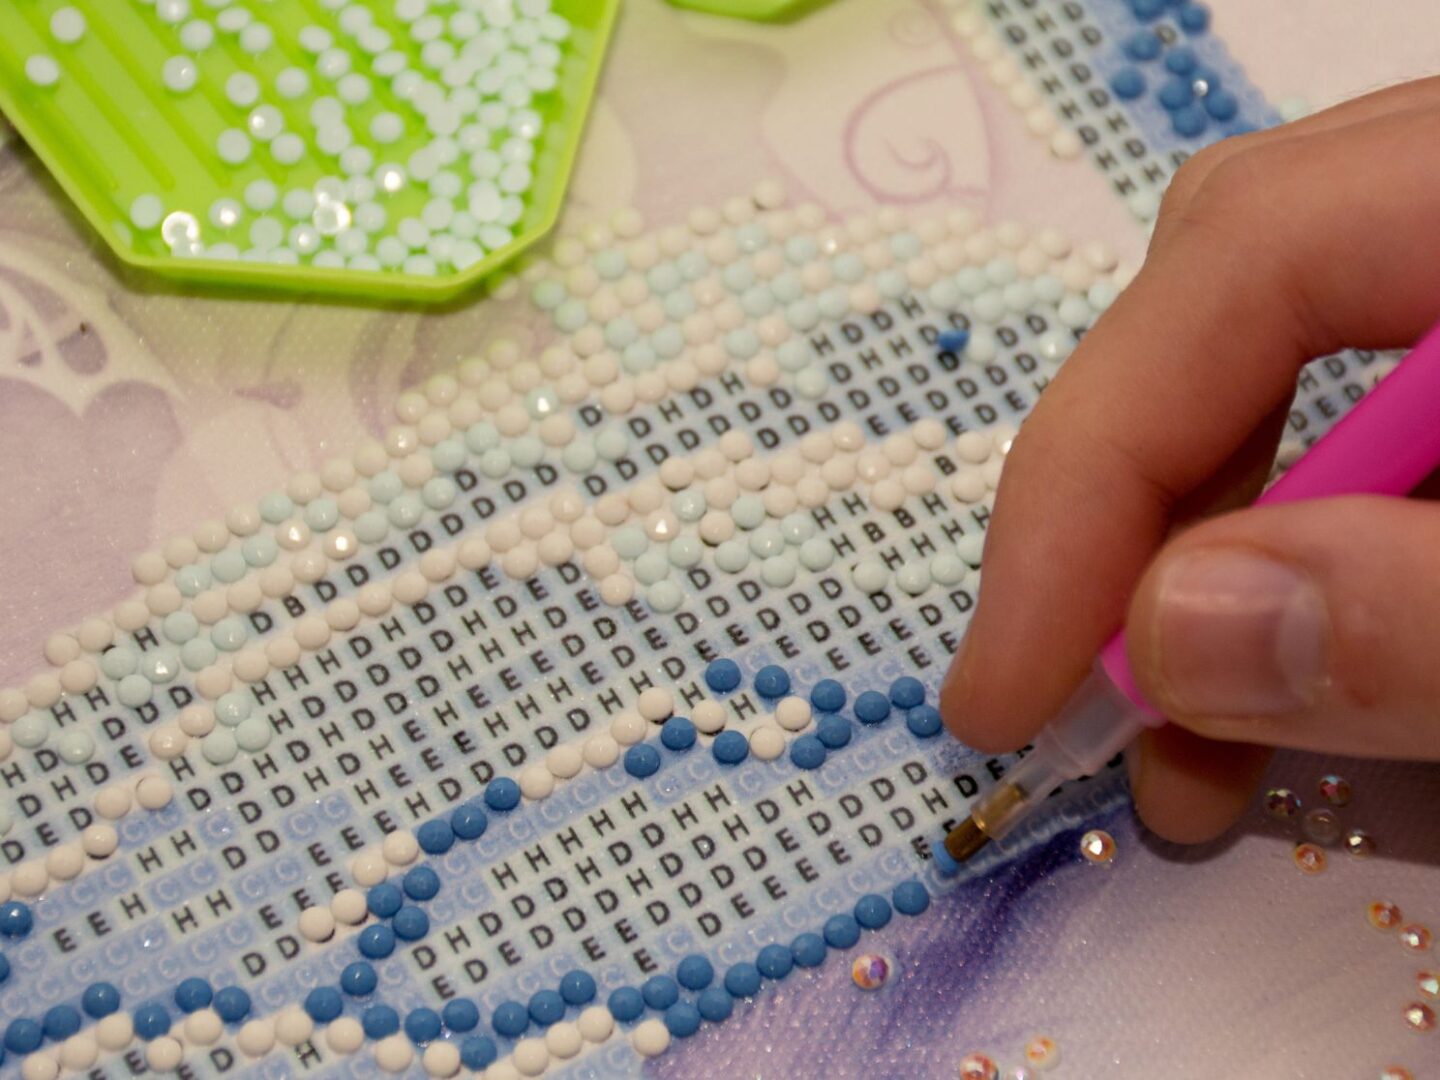
Canvas symbols guide diamond placement with precision. Each symbol corresponds to a specific diamond color or shape. Familiarize yourself with the symbol chart included in your kit before starting.
Most kits use letters, numbers, or geometric shapes to represent different diamonds. Create a reference guide by attaching a sample diamond next to each symbol. This visual aid helps avoid confusion during the crafting process.
Some canvases use a color-coding system instead of symbols. In these cases, match the diamond color directly to the canvas color. Keep the diamonds organized in labeled containers to streamline the process.
Perfecting Diamond Placement
Proper diamond placement ensures a polished final product. Start in one corner of the canvas and work systematically across the design. This method helps maintain focus and prevents missed sections.
Use the provided applicator tool to pick up diamonds. Dip the tool in wax or use its sticky end to grip the diamond. Place the diamond flat side down onto the corresponding symbol on the canvas.
Press each diamond gently but firmly to secure it. Avoid applying excessive pressure, which can damage the canvas or distort the design. Use tweezers for precise placement in tight spaces or intricate areas.

Using Adhesives Effectively
Most diamond art kits come with pre-applied adhesive on the canvas. To maintain stickiness, work in small sections and keep unused areas covered. If adhesive weakens, use a specialized diamond painting glue to reactivate it.
Avoid using nail polish remover or regular craft glue, as these can damage the canvas or affect diamond adherence. Apply any additional adhesive sparingly to prevent excess seeping around diamonds.
For areas with lost stickiness, carefully apply a thin layer of diamond painting glue. Allow it to dry slightly before placing diamonds to ensure optimal adherence.
Addressing Common Mistakes
Identifying and correcting mistakes early prevents frustration later. Regularly check your work for misplaced diamonds or gaps in coverage. Use tweezers to adjust or remove incorrectly placed diamonds.
Missing diamonds can occur due to manufacturing errors or accidental loss. Keep spare diamonds of each color to fill in gaps. If you run out, contact the kit manufacturer for replacements.
Low-quality materials can lead to poor results. Invest in kits from reputable brands to ensure consistent diamond shapes and sizes. This consistency makes placement easier and results in a more polished final product.
Avoid working for extended periods without breaks. Fatigue can lead to errors in diamond placement. Take regular breaks to rest your eyes and maintain accuracy throughout the project.
Conclusion
Diamond painting can be enjoyable and mess-free with the right approach. Proper preparation, organization, and careful handling of materials are essential. Using quality tools, maintaining a clean workspace, and taking precautions to secure diamonds prevent common issues. These practices ensure a smooth, satisfying experience and a beautiful finished artwork.


