
Handprint crafts are one of those things I never get tired of. They’re simple, personal, and somehow always end up being the ones you keep long after the day has passed.
This handprint flowers bouquet is a lovely Valentine’s Day craft for kids that doesn’t need fancy supplies or perfect results. It’s the kind of activity that works just as well for a quiet afternoon at home as it does for a thoughtful handmade gift.
Best of all, it turns little hands into something meaningful, and that’s always a win.
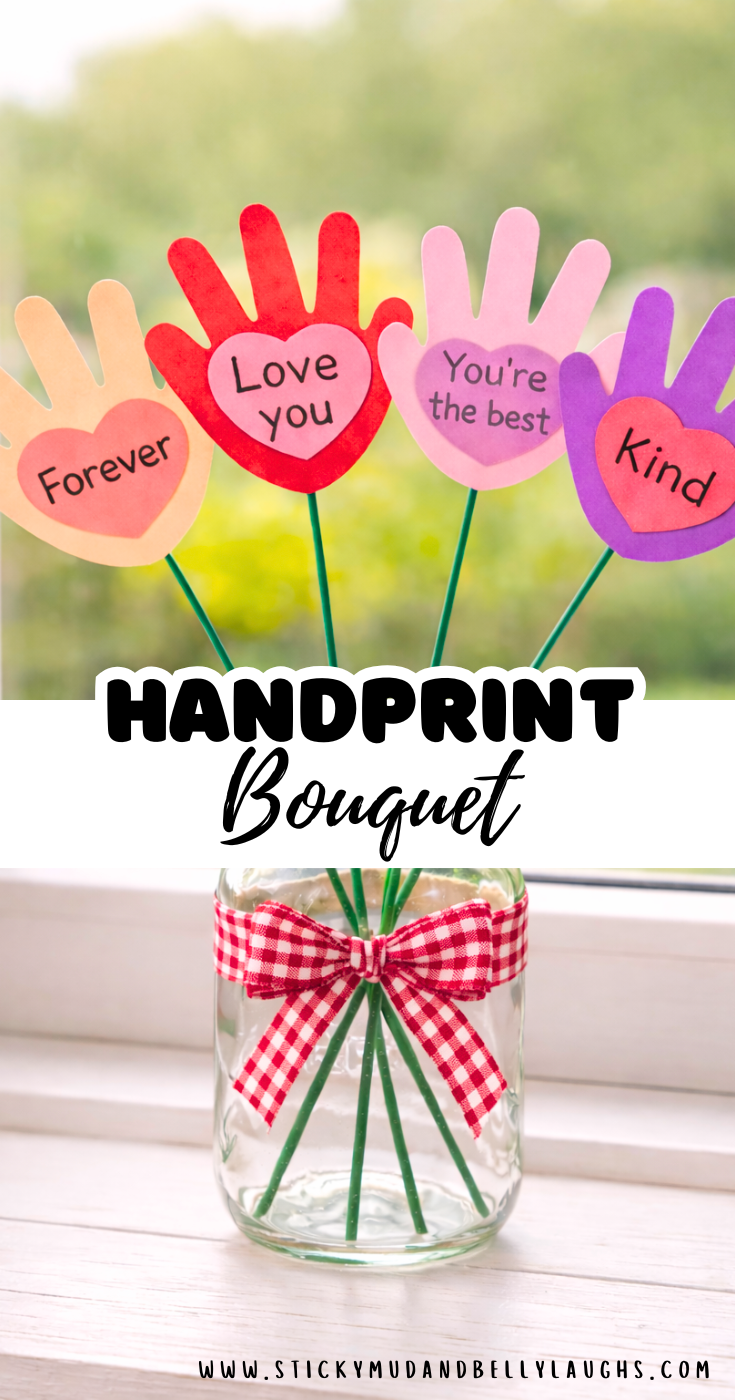
Handprint Flower Bouquet Craft (Step-by-Step)
Step 1: Gather your supplies
You’ll need:
- Coloured paper (pink, red, purple, peach)
- Green paper (optional, for leaves)
- Pencil
- Scissors
- Glue stick (or tape)
- Thick florist wire, skewers, or paper straws (for stems)
- A jar or vase
- Ribbon (optional)
Tip: If you’re crafting with little ones, skewers or paper straws may be more suitable.
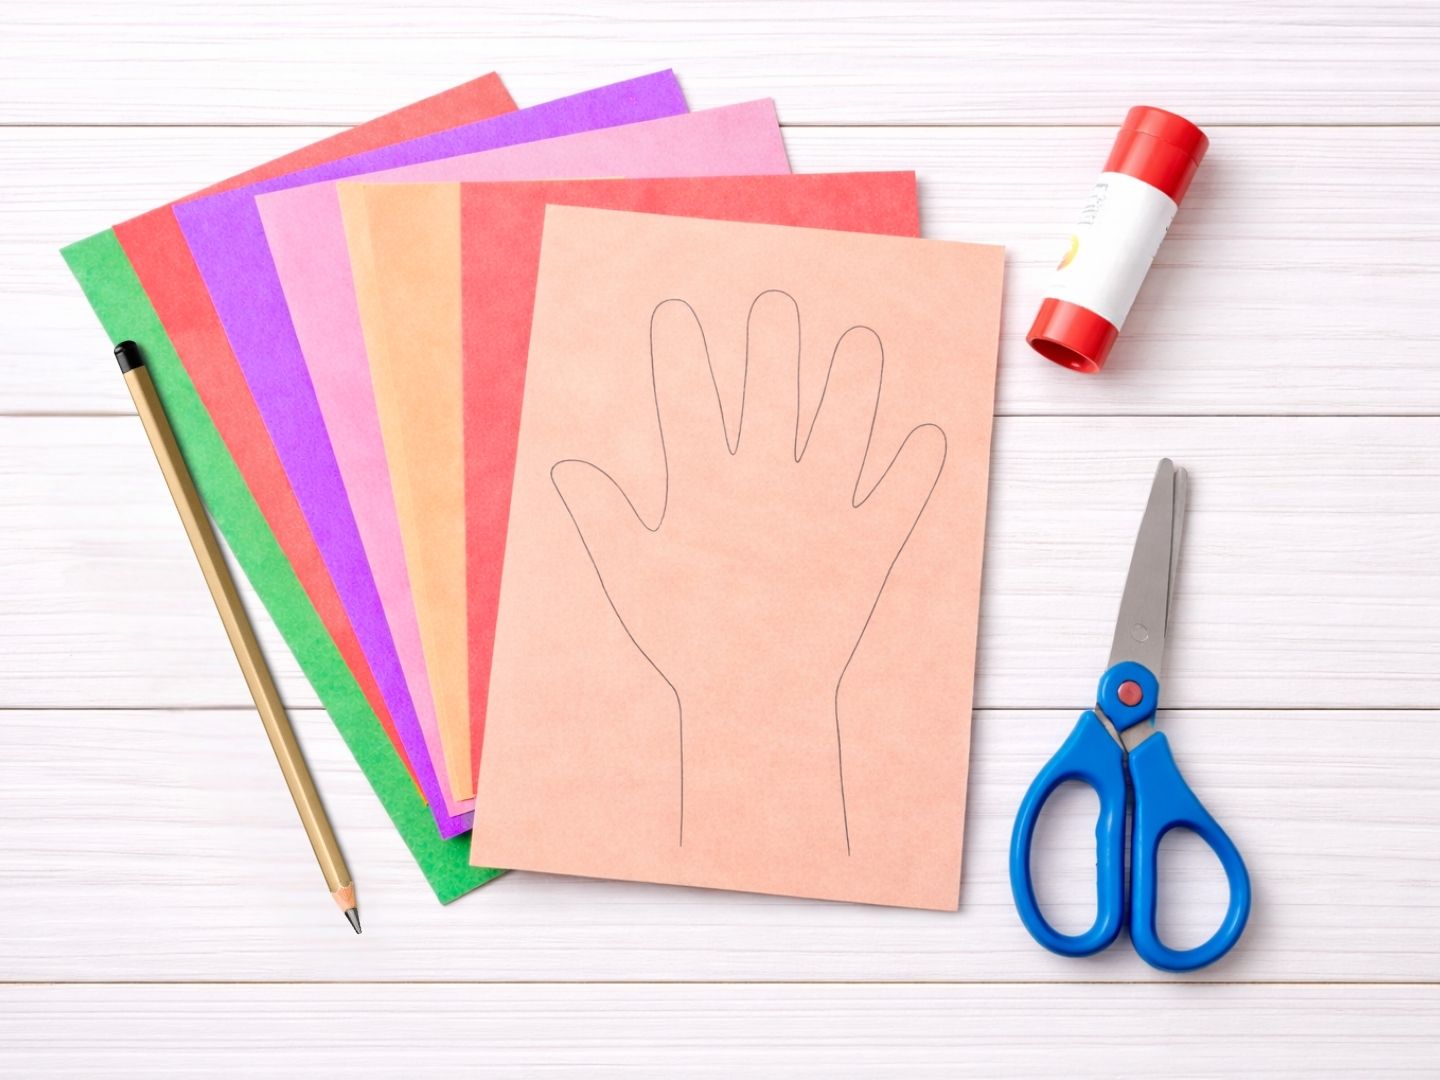
Step 2: Trace the handprints
Choose your first colour of paper and place your child’s hand flat on top.
- Hold fingers steady (this is the tricky bit!)
- Trace around the hand with a pencil
- Repeat on different colours until you have as many “flowers” as you want
How many do you need?
4–6 handprints makes a nice bouquet. More if you’re feeling ambitious.
Step 3: Cut out the handprints
Cut out each traced handprint.
- Older kids can cut their own
- Younger kids may need help with the fingers
Tip: Don’t stress about perfect edges. Once it’s in a bouquet, it all looks great.
Step 4: Add the heart labels and messages
Now for the part that makes this a proper keepsake.
- Cut small heart shapes from paper (or use heart stickers)
- Stick one heart onto the palm of each handprint
- Write a message on each heart
Ideas:
- Forever
- Love you
- You’re the best
- Kind
Optional: Write the date and age on the back of one handprint (future you will appreciate it).

Step 5: Attach the stems
Turn the handprints over and attach your “stems.”
Choose one:
- Florist wire (best for shaping + standing)
- Wooden skewers (sturdy and cheap)
- Paper straws (cute and easy)
How to attach:
- Add a strip of glue down the middle of the back of the handprint
- Press the wire/skewer/straw on top
- Secure with extra glue or a strip of tape across it
Important: If using skewers, you might want to cover the point with tape for safety.
Step 6: Add leaves (optional but cute)
If you want to bulk the bouquet up a little:
- Cut simple leaf shapes from green paper
- Glue them onto the stems or behind the handprints
This is totally optional, but it adds a “finished” look.
Step 7: Arrange in a vase
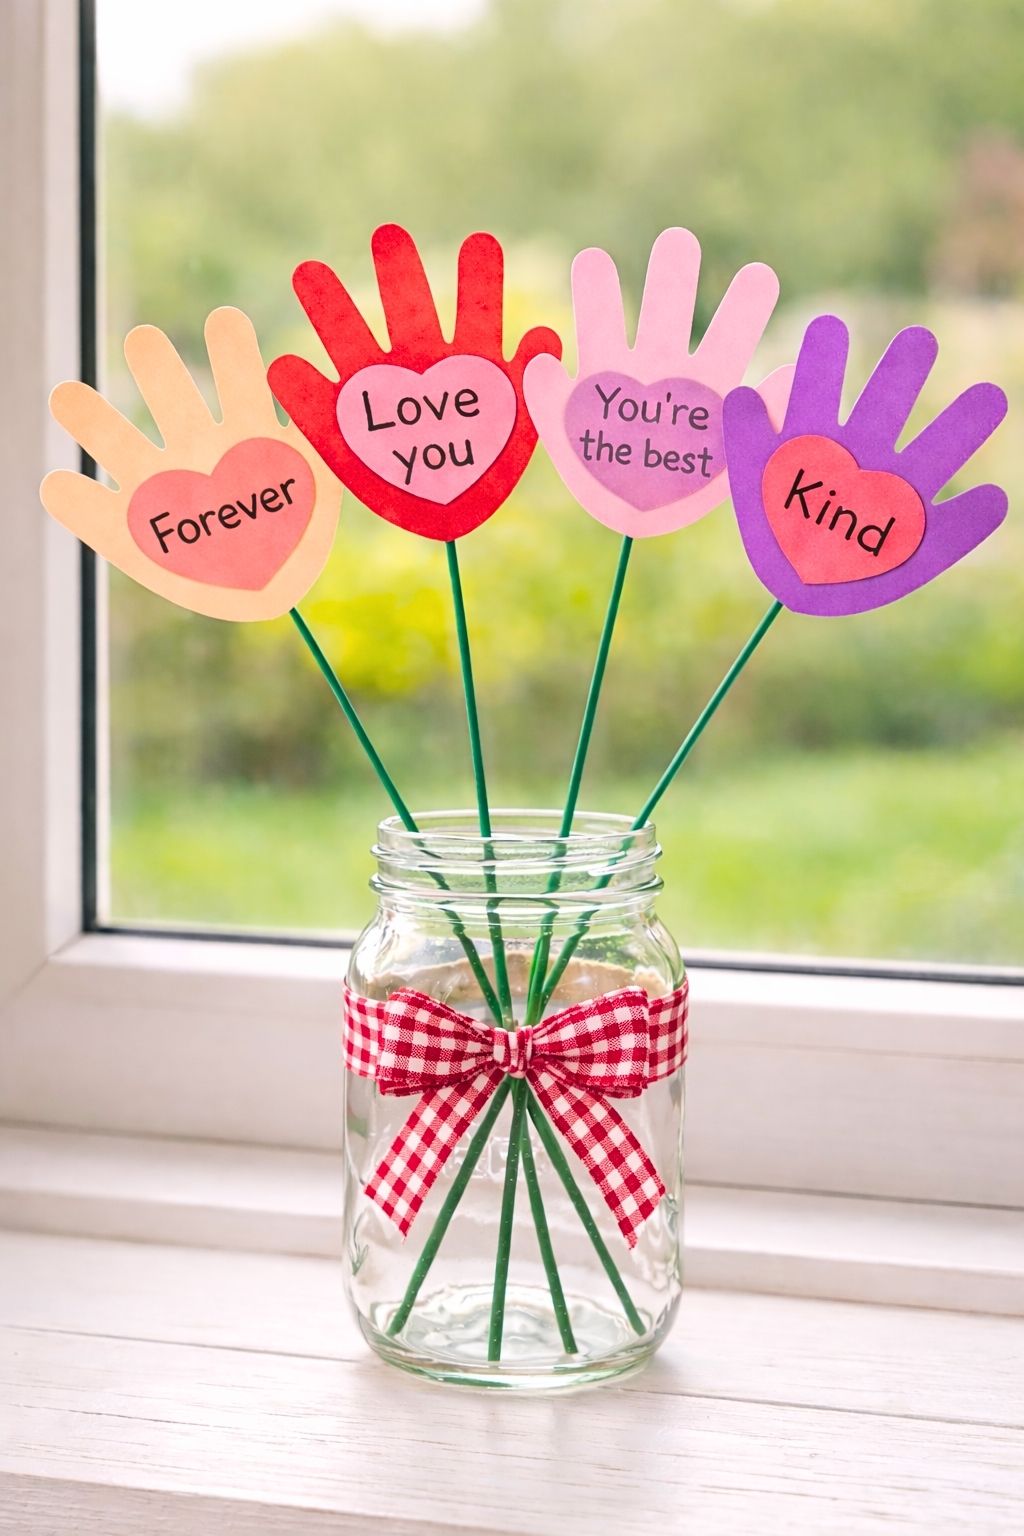
Gather your stems together and pop them into a jar or vase.
- Adjust the heights so you can see all the messages
- Bend florist wire slightly so the handprints fan out (if using wire)
Tip: If the vase is light, add a little scrunched paper inside or a few pebbles to help it stand nicely.
Step 8: Add a ribbon (optional finishing touch)
Tie a ribbon around the vase.
A red gingham ribbon looks lovely for Valentine’s Day, but honestly anything you have works.
Happy Crafting!



Aww! This is such a cute craft and perfect for Valentine’s Day! My eldest and her girlfriend are trying to do a no spend Valentine’s Day and have agreed to make crafts so I will show her this. x
These are so cute, any parent would love these at Valentines!
I wanna do this for my mama
These are adorable! I think my grandchildren might has some fun making these.
What a lovely idea
love these